Mashed Potatoes with Crema Mexicana

Crema Mexicana 2013I don’t get the immigration debate. Why would the U.S. want to keep out any people who have invented something as delightful as crema Mexicana–or any of the other foods from South and Central America? A nation that let lutefisk in but tries to keep empanadas out ought to re-think its policy.

Lutefisk aside, food seems to get better when cultures come together, even under troubling circumstances. Where would Italy be without Native American tomatoes–and where would America be without the pizza and spaghetti that Italian immigrants brought back? Or yams and okra, or tacos and burritos, or bratwurst . . .

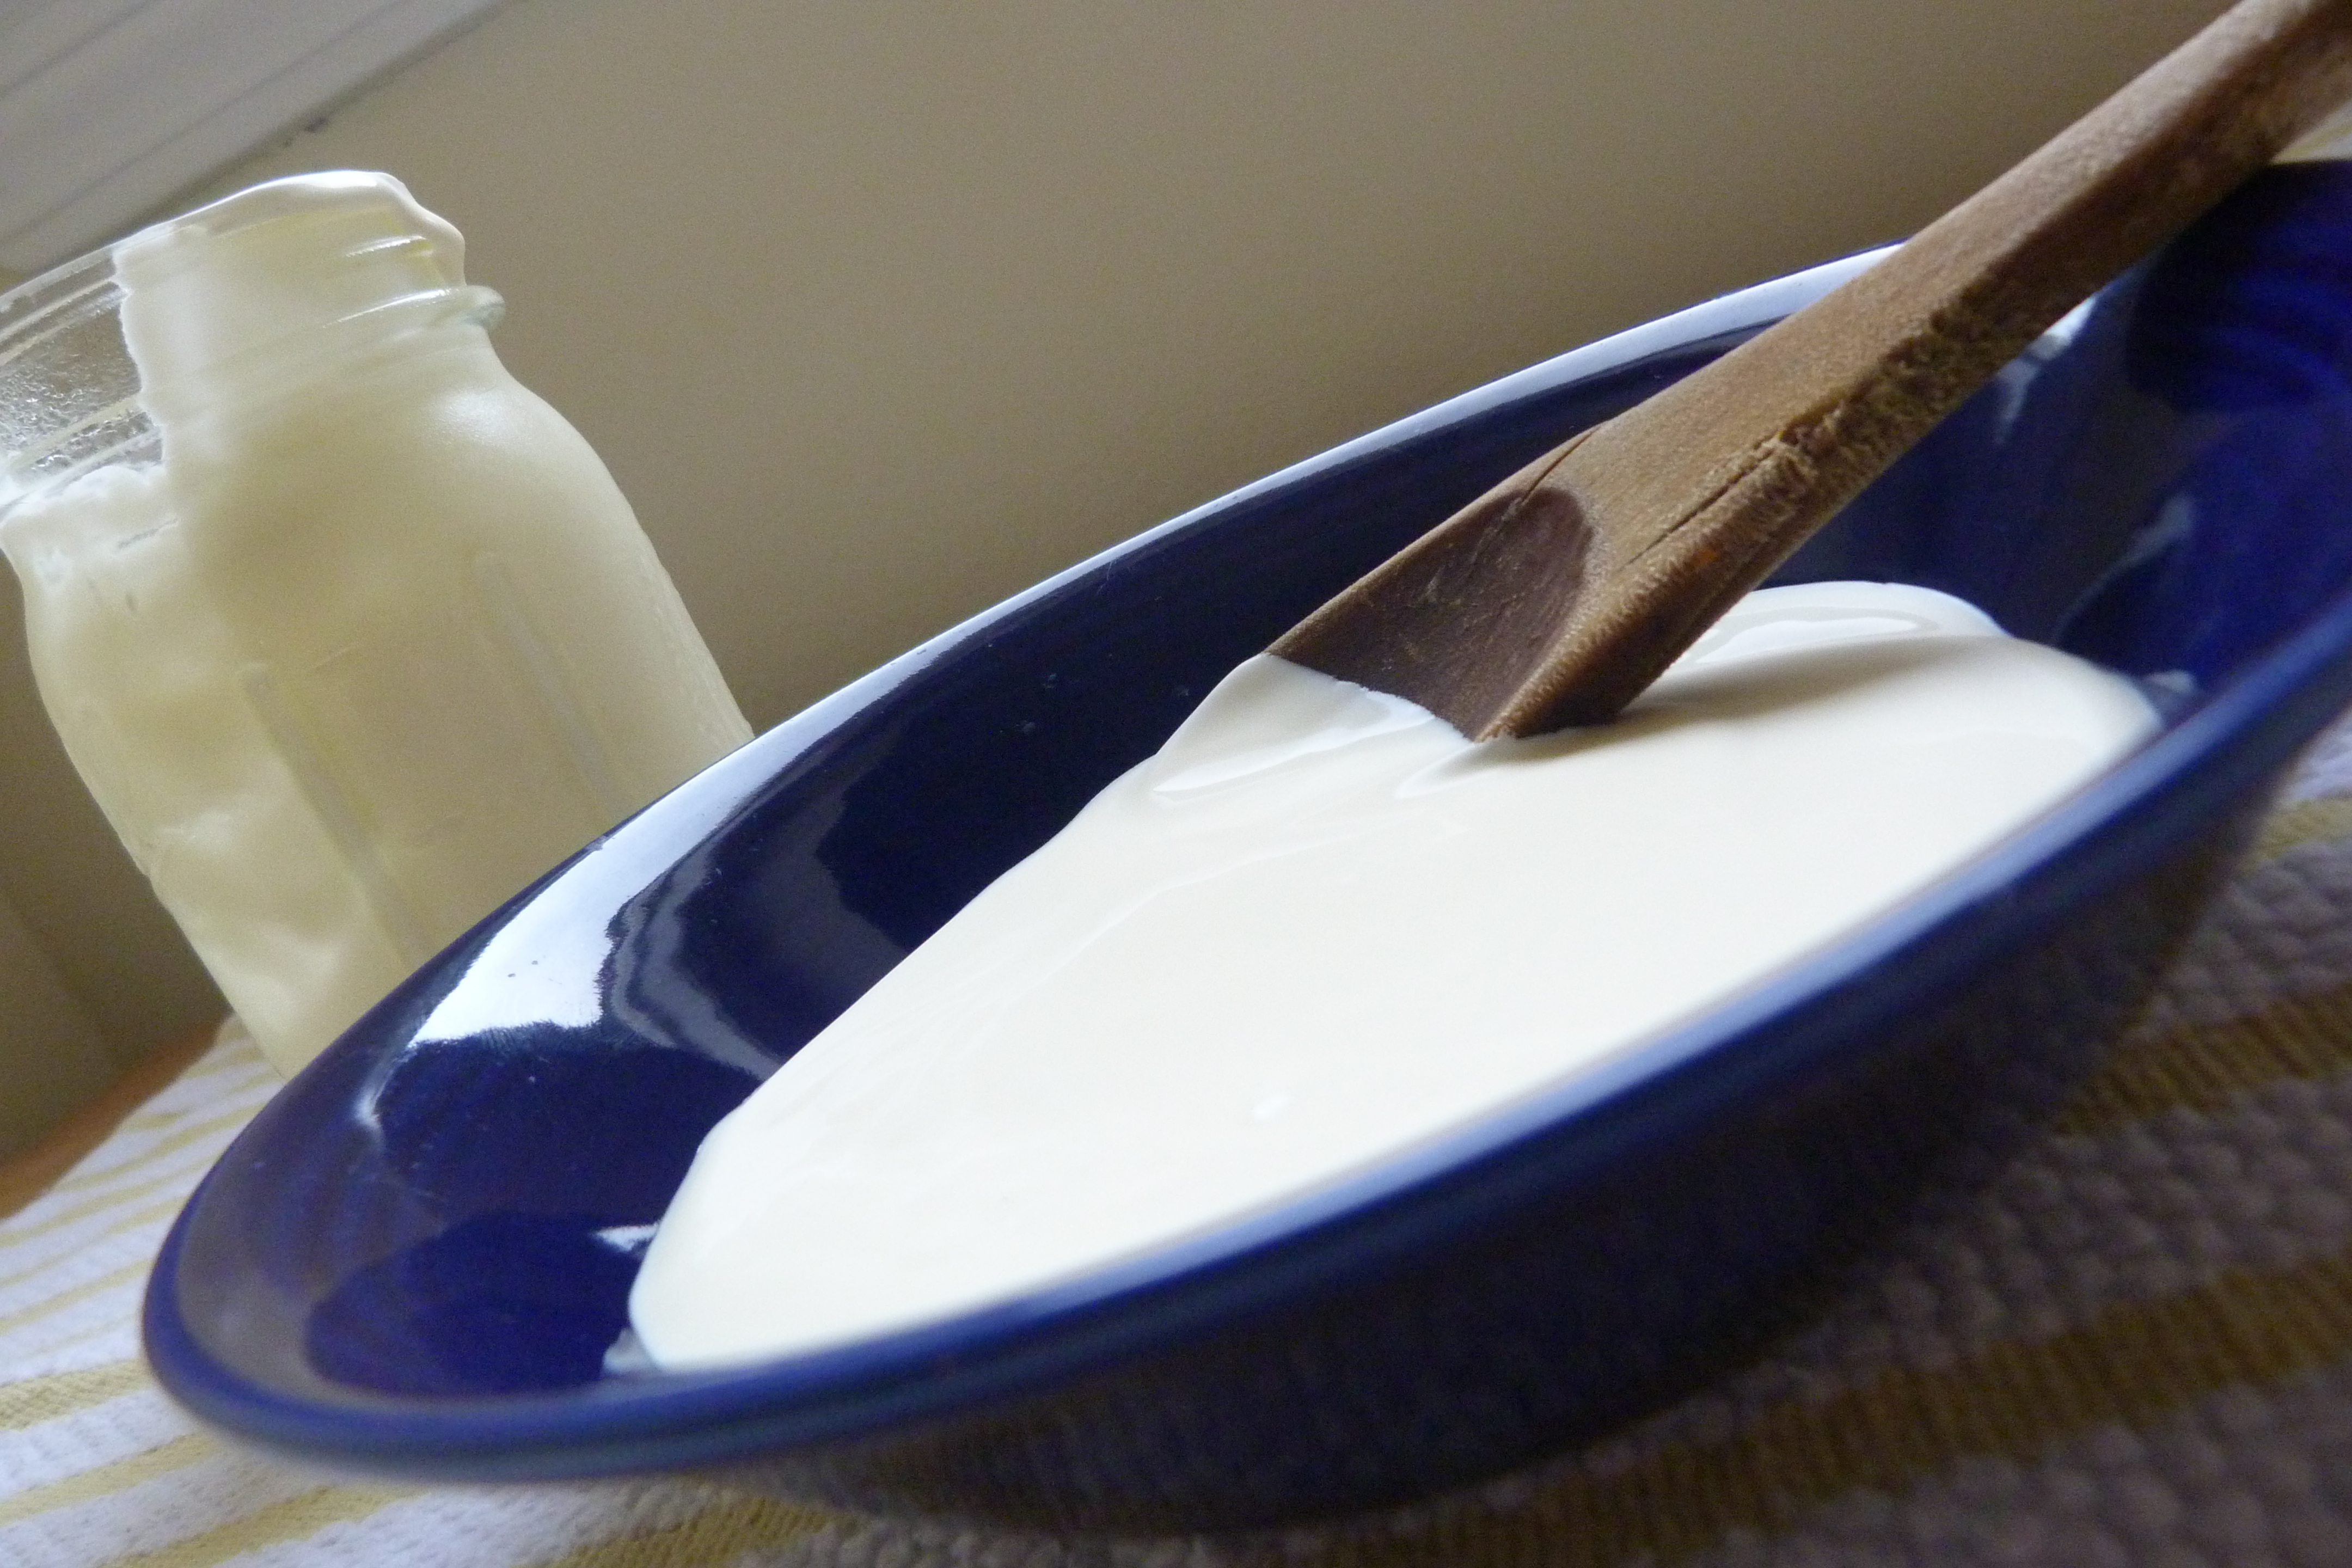
These mashed potatoes are the result of just such a fortuitous collision. Crema Mexicana is a close cousin of sour cream, creme fraiche, and quark. Sour cream is the typical substitute north of the border, but crema Mexicana is less tart, richer in taste, and thinner. (Typically, it’s about the consistency of cake batter.) You can make it from scratch, a day or two before you need it, by combining whipping cream and sour cream–one recipe is here. Crema also comes in varieties from El Salvador, Honduras, Guatemala, and probably every other country south of the border, and I haven’t encountered any that I didn’t love. (There is a good discussion of the differences here at eGullet.)

Crema Mexicana adds depth and richness to mashed potatoes without stretching them very far past the traditional. Your guests won’t even realize they’re a experiencing fusion cuisine–they’ll just think that they’re eating the best mashed potatoes they’ve ever had.
Mashed Potatoes 2013 15
Mashed Potatoes with Crema Mexicana

4 large russet potatoes, peeled and cut into 2 – 3″ chunks
4 Tbsp. unsalted  butter
1 cup crema Mexicana (NOTE: Some brands are closer to the consistency of sour cream than typical crema Mexicana. If you are using a thicker version, you may need to add more half and half.)
1/4 cup half and half
2 tsp. salt

Put potatoes in a 6-qt. or larger pot and cover with water. Add about 1/2 tsp. salt to water. Bring to a boil, uncovered, on high heat. Reduce heat to medium low. Cover and cook until potatoes are very tender (that is, they break apart easily when pierced with a fork), at least 10 minutes. (NOTE: If pot threatens to boil over, reduce heat to low; this can alter cooking time.)

While potatoes are cooking, measure out other ingredients. Once potatoes are done, drain and return immediately to pot. Add remaining ingredients and cover. Let sit, covered, until you are ready to mash potatoes, up to 30 minutes. (I’m quite careless on this last point and suspect I’ve let them sit up to an hour, but they always seem to be okay.)

At this point you can mash the potatoes with a hand masher or mix with an electric mixer in the pot. If the mix is too dry, add more half-and-half. Once potatoes are blended to the right consistency, taste them, stir in more salt if needed, and serve immediately.

Focaccia with Brussels Sprouts, Bacon, and Onions

Brussels sprouts onions olive oil 16Last week, listening to a radio interview with a chef on the cooking trends we can expect in 2013, I learned that Brussels sprouts are on their way out. Once relegated to the same loathsome realm as beets and liver, they had recently become the darlings of trendy restaurants all over the country, cozying up to lardon-encrusted meats and peeking out from under house-made sauces. But in 2013, poor Brussels sprouts will apparently go the way of last year’s prom queen–still with lots of friends in the popular crowd, but probably not invited to the dance.

Big poo, I say. Brussels sprouts are still trending in our house. Fred has only recently recovered from his childhood aversion to the grayish, mushy lumps that appeared on our plates in the 60s and 70s, and we aren’t going back. Plus, there were some gorgeous ones at the Dekalb Farmers’ Market recently, so I had to do something with them.

I’d also been paging through my tattered copy of “Lidia’s Italy,” a cookbook whose recipes I dearly love but whose binding I hate, and once again came across its wonderful tomato and onion foccacia. Lidia gives you license to do whatever you want with the toppings–so it didn’t seem too much of a leap to Brussels sprouts, onion, and bacon.

We were pleased with the results. The focaccia is tender and light, though definitely best served warm. We loved the smoky bacon combined with the slightly carmelized Brussels sprouts. Salt on top is essential. With a salad or other vegetable (buy extra Brussels sprouts & saute them), it makes a meal.

Plan to eat within two to three days and heat up before eating. But please, don’t do this.

A Fred original Focaccia and meatloaf sandwich

A Fred original: Focaccia and meatloaf sandwich

Recipe: Focaccia with Brussels Sprouts, Onions, and Bacon

Serves 6 – 8 as a meal

4 tbsp. plus 1/2 tsp. yeastFoccacia  brussels sprouts bacon
2 1/4 c. warm water
5 1/2 c. all-purpose flour
2 tsp. salt
6 – 7 or more large Brussels sprouts (enough for at least 2 cups), halved lengthwise & sliced thin
1 medium onion, quartered and sliced thin
2 medium garlic cloves, minced
Finely ground sea salt, or regular salt, to taste
About 1/3 cup olive oil, enough to coat & marinate sprouts, onions, and garlic
6 slices bacon, cut into 1″ lengths
Coarse sea salt to sprinkle over top

DOUGH: Measure water in spouted measuring cup and dissolve yeast in water for a few minutes. Oil a large bowl with about 1 tbsp. olive oil and set aside.

Mix flour and salt in a large bowl. Pour flour into food processor and turn it on. With processor running, pour yeast and water through feed tube. Process until dough pulls away from processor bowl, about 30 seconds. If dough is too sticky (some will stick to sides of bowl, but it should pull away), add more flour, a little at a time. If it is too dry, with crumbly bits in the bottom, add a little more water.

Turn dough onto lightly floured surface and knead for about a minute. Place into bowl with olive oil, turning once to coat. Cover tightly in plastic wrap and let sit in warm place until doubled, about an hour.

While dough is rising, prepare remaining ingredients and let them marinate. Coat a broiler pan with about 2 tbsp. olive oil. This makes for a thick focaccia; if you would like something thinner, try a large jelly roll pan (17 1/2″ x 12 1/4″).

Have a glass of wine, make a salad, or read for a little while.

If you have a baking stone, place it in the middle rack of your oven. When dough has risen, preheat oven to 425. Punch dough down. Press it into the pan. Sprinkle marinated vegetables and bacon over top, pressing lightly into dough with fingertips, making dimples. Let rise an additional 10 – 15 minutes. Sprinkle with coarse sea salt to taste. Bake 20 minutes. Rotate pan 180 degrees and bake an additional 15 minutes or until dough is light brown. Let cool at least 15 minutes before serving.

How to Cook Collards (Happy New Year)

Collard_greens_2012If you grew up cooking in the South, you don’t need this post. You have already purchased your black-eyed peas, your pork, and your greens, and you’ll be eating them tomorrow to avoid certain doom in 2013. You know that you must eat black-eyed peas for luck and greens for money, and you put pork in them because your ancestors were so poor they used every scrap of the animal, including the fatty bits, which they threw into every vegetable imaginable.

You also aren’t searching on the Internet for a recipe. But those of you who are obviously need help, and I’m here to offer it.

These days there are all kinds of fancy ways to prepare collards. I’ve made a nice vegetarian version, put them in soups, and even added them to pasta. But for New Year’s, I like to return to the old-fashioned version–simmered in pork and onions, floating around in heavenly “pot likker” ready to be sopped with cornbread or just eaten with a spoon.

I got my collards this year at the DeKalb Farmer’s Market, along with a cheerful group of people from every race looking forward to a fat-filled New Year’s celebration. The greens were piled up nearly to the top of my head, and the bunches were so enormous they had to be put in bags as big as my torso (24″ x 16″, in case you’re wondering). You can get a sense of the size just from the stems:

Collard_green_stems_2012

Collards are pretty forgiving. Don’t worry about following any recipe to the letter, as you will end up making adjustments anyway to suit your taste. That said, here’s my version. A ham hock is more traditional, but as we all know bacon makes everything better.

Happy new year!

Collard Greens

8 qts. collards greens, washed, bottom stems cut off (In other words, use enough collards to fill an 8-qt. pot, loosely packed; their volume will reduce to about a quarter or the original size during cooking. There is no need to remove the large stem running down the center of the leaves unless you prefer–if you do that, however, check on the collards after a half hour for doneness.)

1-2 cups low or no salt chicken or turkey broth (ideally, you made broth from the scraps of your turkey, but if you didn’t, get the best you can)

6 slices bacon, each cut into 6 – 8 pieces

1 large onion, chopped

Several splashes of red wine vinegar

1 – 2 tbsp. white distilled vinegar (the cheap stuff, not white wine)

A few dashes of Tabasco sauce, or to taste

Salt to taste

Chop collards. My method is just to lay 4 – 5 leaves, depending on their thickness, on a cutting board and slice them at 2″ intervals. You can, however, chop them as fine or coarse as you like.

Cook the bacon in an 8 – qt. pot until crisp. Drain off all but about 3 tbsp. of fat. Saute onion on medium low heat until translucent, 5 – 10 minutes. Add broth and greens. Cover and turn heat to medium high. Cook for about 5 minutes or until greens cook down enough to be covered with water. Add remaining ingredients and stir. Reduce heat to a simmer; cover again and cook for about an hour or until greens are tender. Taste and add more Tabasco, vinegar, and salt as desired. Serve with black-eyed peas and cornbread for good luck in 2013!

Cole Slaw with Serrano Peppers

It’s been a year and a half since the Great Hot Pepper Avalanche at the community garden at St. John’s Presbyterian Church–and we’re still struggling in the aftermath.

Constitutionally incapable of letting food go to waste, I spent an afternoon gathering every stray pepper from the garden before the first frost. I ended up freezing five one-gallon bags of Serrano and jalapeno peppers. The date was October 10, 2010. (I believe in labeling.)
 
In the ensuing months, the peppers were flung into soups, tossed over the top of pasta, and folded into eggs. They were roasted and stirred into salsa. They were minced and spread over quesadillas. They were seared with steaks. Eventually, they were moved 384.93 miles from Durham, NC back to Atlanta.

As of today, we still have 2 gallons left.

Freezing, it turns out, is an excellent way to preserve Serrano and jalapeno peppers. A dreadful experiment with drying, and the recommendation of a friend, led to my discovery of this. Freezing preserves most of the flavor and is incredibly easy. I did nothing to the peppers–didn’t even wash them–before I placed them in the bag (labeling them, of course), and put them in the freezer.

When I need them, I usually set the whole peppers into whatever I’m sauteing to thaw a bit before I chop them up and add them to the dish. Sometimes, if guests are coming, I remember that I never washed them and rinse them beforehand.

One of the best experiments to come out of  the Great Pepper Avalanche is this cole slaw. Fred loves a finely chopped cole slaw, and we both love the kick from the peppers. If you have a food processor this dish is also remarkably easy to prepare. It’s an excellent side with a mild white fish or as an appetizer spread over crackers. 

I’m reluctant to give exact proportions for mayonnaise or salt. Let your taste be your guide. The more mayonnaise, the creamier the texture and the milder the slaw, since it seems to counteract the heat of the peppers. In the version below, I used about 3/4 to 1 cup of Hellmann’s Light (a concession to middle age).

Cole Slaw with Serrano Peppers

4 servings

1/2 large head cabbage
1 small onion
2 Serrano peppers, fresh or frozen
Mayonnaise to taste (can use reduced fat)
Salt to taste

Place a dry small iron or other sturdy metal skillet on high heat. Roast peppers on skillet until very lightly brown. Remove from heat. Let cool, then mince.

Mince cabbage and onion in food processor until finely chopped. Transfer to large bowl. Stir in mayonnaise in approximately 1/4 cup increments until slaw is to desired consistency and taste. Add salt to taste.

Cabbage and Carrots

A friend of mine used to decry what she called “inefficient frugality”–that office practice of inexplicable cost-cutting measures like monitoring Post-It note consumption or shaking the last tiny bit out of every toner cartridge. Fred and I practice a version of this called “erratic frugality.” We’ll spend $5 a pound for a locally raised, cage-free chicken without batting an eye but freeze up at the prospect of shelling out more than $3 on a bottle of shampoo.

Lately, though, our desire to escape from the Jerry Springer show that is our neighborhood has spurred our efforts to economize. These people aren’t kidding around–today, for instance, I discovered that the murder rate in our neighborhood is 7 times the national average.

Thank goodness we’ve put an offer on a house, in a neighborhood where the murder rate is only twice the national average. (Please don’t tell my landlord. It’s a short sale so she probably won’t lose us as tenants until 2015.)

To afford this we’ll need to scrape together about $10,000 extra dollars a year, and the first step will entail reducing our total monthly food bill (including eating out) from somewhere north of $1,200 a month to a more reasonable $900 or so. Plus, we both still need to lose weight.That should be easy because Atlanta was recently voted the 18th healthiest city in the country. I’m not sure how our neighborhood’s murder rate factors in there, but perhaps the joggers in Grant Park help balance that out.

So, to help our budget and improve our chances of survival, we are eating cabbage. There’s a reason the poor eat a lot of it. It’s high in fiber, vitamin C and calcium, and it tastes pretty darn good. And the smell may deter the murderers.

Joking aside, I love this dish. The herbes de Provence and carrots lend a sweetness to the cabbage, and it’s tender without being soggy and drab. It’s lovely as a side with chicken or pork.

Cabbage and Carrots

1 tbps. olive oil
1 medium yellow onion, halved lengthwise and sliced into thin strips, the strips cut in half1 clove garlic, minced
4 carrots, sliced lengthwise into thin strips, the strips cut into pieces about 3″ long
1/2 head cabbage, sliced lengthwise in strips about 1/4 inch wide, the strips cut in thirds
About 1/2 cup chicken broth, or enough to cover the bottom of a 10″ skillet
Generous tbsp. of herbes de Provence
Salt to taste

Heat olive oil in 10″ skillet on medium high heat. Saute onions in oil until translucent, about 5 minutes. Add garlic carrots, and herbes de Provence, stir, and continue to saute for a few more minutes. Add remaining ingredients and stir. Cover and cook until cabbage is sweet and tender, 15 – 20 minutes.

Hummus: Sweet Potato and Pumpkin

My world underwent a quiet but dramatic change about a month ago. My dear friend Rocco, who is a fabulous cook, started it all when he pointed me to the beet hummus on the Simply Recipes site.

Up to that point, I’d never considered anything other than chickpeas and roasted red peppers as the basis for hummus. How foolish I was! If the unloved beet could be converted into a delicious hummus, then anything was possible.

Luckily, two purple sweet potatoes from the Durham Farmers’ Market rested on my counter top at that time, waiting for their moment of glory. Looking at them, I was certain I was about to blaze a trail through the hummus jungle, forging past black bean and red pepper and into a territory of new taste. I’d be the first person to make sweet potato hummus. I’d be famous. I’d never have to work again.

Following the general contours of the beet hummus recipe, I came up with a sweet potato hummus using the purple sweet potatoes, with just the right mix of spice with lots of lemon to brighten the flavor.

My success made me think that other vegetables in the same genre, such as winter squash, might also work. Having bought about a dozen cans of pumpkins (on sale!) over the holidays, I tackled pumpkin hummus next. Experiments led me to tone down the lemon, allowing the pumpkin to assert itself. The addition of tomatoes increased the acidity but provided a softer, earthier complement to the gentle pumpkin than more lemon would have and made for a more balanced flavor.

After my work was done, I googled “sweet potato hummus” and “pumpkin hummus” just to confirm that I was the first.

I won’t humiliate myself by linking to the results. So the blogosphere is not likely to be wowed by this post. But I like both these recipes. Unlike many of the other hummus variations I discovered, these don’t include chickpeas, which allows the flavor of the base ingredient to stand out. Maybe I’m not the first, but I’ll imagine I’m among the best.

Pumpkin hummus, foreground, and purple sweet potato hummus. (My limited photography skills kept me from getting a good close-up of the sweet potato hummus Let’s just say that the close-ups took the idea of “food porn” to a new and somewhat disgusting level.)

Sweet Potato Hummus

1 cup cooked sweet potato (about 1 medium)
1/4 cup olive oil (or more to taste)
1/4 cup tahini (or more to taste)
4 medium cloves garlic, minced
1/2 cup lemon juice
1 – 2 tsp. kosher salt, or to taste
1 tsp. cayenne pepper
1/2 tsp. cardamom
2 tsp. cumin (or to taste)

Mix ingredients in food processor until smooth. Taste and adjust seasonings. Serve with celery, carrots, bread, or crackers.

Pumpkin Hummus

1 can pumpkin
4 tbsp. tahini
2 large garlic cloves, minced
1 1/4 tsp. salt
1 tsp. cumin
1 tsp. cayenne
2 tbsp. olive oil
1/2 tsp. cardamom
4 tbsp. crushed tomato (or more to taste)
1 tbsp. lemon juice

Mix ingredients in food processor until smooth. Taste and adjust seasonings. Serve with celery, carrots, bread, or crackers.

Arugula, Lamb’s Quarters, and Goat Cheese Salad

Yesterday offered a sobering reminder of why gluttony is a sin. Fred and I joined a friend at our beloved  Federal to watch Butler and VCU in the Final Four. I found myself drinking barley wine, a deceptively named beer that even I, normally not a beer drinker, could enjoy. We dug into a plate of fries, then moved on to a pork belly sandwich (Fred ordered, I sampled). We downed a mountain of nachos. 

After seeing a plate of nachos with guacamole at a nearby table, however, and realizing that we had at least 30 more minutes of basketball remaining, I decide that additional nachos were needed. This was a serious error. The onslaught of more cheese, beans, sour cream, and chips–now with guacamole thrown in–proved devastating to internal systems already groaning under the weight of the garlic fries and the barley wine. The rest of the evening was lost to a food coma of monumental proportions. I’m still recovering.

The moral of the story? Greens are your friend. Greens will make up for a multitude of sins. Greens are what I will eat for the rest of this week. (Guacamole does not count as a green.)

Most importantly, greens are delicious, and the Durham Farmers’ Market has some beautiful examples right now, including some I’ve never tried. Recently, for instance, I picked up lamb’s quarters, pictured below. They may look like tree leaves, but they have a mild flavor–more like lettuce than a green–with a light peach-like fuzz that disappears after they’re washed.

I bought Russian kale as well. (Note the continuation of the tree leaf theme.) This is a mild kale, and the purple adds a nice bit of color.

Most people recommend lightly sauteing these greens before serving. I’ve found, however, that both lend themselves quite well to salad. The lamb’s quarters, in particular, offered the perfect balance for some sharpish arugula we picked up on the same day. The resulting salad was, according to a friend who came over for dinner, the best he’s ever had. Truth be told, it was even better than the nachos.

Arugula, Lamb’s Quarters, and Goat Cheese Salad

Serves 4

Salad
6 cups mixed lamb’s quarters and arugula, large stems removed from lamb’s quarters, all greens rinsed and dried
4 spring onions, all but 1″ of green part removed, halved lengthwise and sliced 1/4 cup crumbled goat cheese, or to taste

Dressing
1/4 cup olive oil
1 large clove garlic, cut into six pieces
1 1/2 tsp. balsamic vinegar
1/2 tsp. fine grain sea salt, or to taste (can substitute regular or kosher salt)
Fresh ground pepper to taste

Whisk all dressing ingredients together in small bowl. Let sit for 15 minutes or so. Place greens in large bowl. Remove garlic pieces from dressing. Whisk dressing again and pour over greens. Add additional salt and pepper to taste and toss. Add onions and goat cheese. Toss one more time before serving.

Other ingredients that work in this salad: Mushrooms, cubed Granny Smith or other sour apple, chicken, Parmesan cheese instead of the goat cheese.

Going Home

I am pleased–and most importantly, my mother is pleased–to report that it looks like we are returning to Atlanta in just a couple of months. I’ve accepted a new job there and am looking forward to getting back. Fred has already laid bets with his best friend on the chances of Braves third baseman Chipper Jones suffering a season-ending injury before July 4. One of them will get a steak dinner out of this. It’s entirely possible I’ll end up cooking it either way.

In any case, posting will be sporadic over the next couple of months, much as it has been over the last few weeks as we made this decision and worked to get our house(s) ready to sell.

Today, I’d like to pay homage to the Durham Farmers Market, which I will miss when we return to Atlanta. Specifically, I’d like to honor the pea shoots that have been available there for the last three weeks, if you arrive early enough.

I sincerely hope that they will be available this Saturday. They are a miraculous little green, with the taste of tender, leafy snow peas–a little sweet, somewhat crunchy, with a delicate, almost minty flavor.

You don’t really need to know how to cook them. It’s okay to stand in the kitchen and stuff them into your mouth by the handful, like potato chips. They also infuse any salad with a gourmet air–add them to your mix of lettuces and put a little sign by the serving bowl that says, “Local lettuce and pea shoot mix with something-infused oil.”

So far, though, my favorite way to enjoy them is over pasta.

Here’s the recipe, such as it is. It is very forgiving. I never seem to make it the same way twice, and it’s always good.

Pea Shoots with Pasta

Makes 2 meal-size servings. This dish will also work with other tender young greens, like cress or creasy greens, also available now.

1/2 lb. linguini, spaghetti, or fettucini
1 tbsp. butter
1 tbsp. olive oil, plus more for drizzling
6 small scallions, sliced, including some of the green part
3 – 4 cups pea shoots, rinsed and dried
Salt and pepper to taste
3/4 cup coarsely grated Parmesan

Following directions on package, put salted water for pasta on to boil. Meanwhile, add butter and olive oil to large skillet. Heat on medium high heat until butter melts. Add scallions and saute until tender, 3 – 5 minutes. Remove from heat. Finish preparing pasta according to package directions. Drain well. Add pea shoots to skillet. Pour pasta over top. Add generous amounts of salt and pepper and mix until pea shoots have just wilted. Pour additional olive oil over pasta, to taste. (About 1 – 2 tablespoons should be enough.) Transfer to two serving bowls. Top with Parmesan cheese and additional salt and pepper if desired.

Green Tomato Salsa

Earlier this summer, I described the avalanche of  produce that nearly overwhelmed the tiny congregation of St. John’s Presbyterian Church, where Fred serves as a parish associate for the arts and I now serve on the garden committee. God was blessing our efforts. He (or She) was returning me to my farming roots, though it would have been nice if He (or She) had not caused me to look quite so much like an ancient mountain woman in the process.

But now He (or She) has decided to bless us with weeks of bright sunny days without a rain cloud in sight. We were also blessed with an abundance of tomato plants along with a generous helping of ignorance. Thus, close planting, a failure to prune, and the lack of rain all combined to produce plants that eked out only green tomatoes, which brooded on the vines until, depressed by their own failure to ripen, they flung themselves to the ground and rotted in despair.

Next door, however, the peppers were having quite the merry fiesta. They lived in a flourishing village that basked in the sun and was clearly up to something in the evenings, judging by the abundance of baby peppers that popped up with alarming regularity. (The proximity to all this merriment probably contributed to the tomatoes’ demise.)

What were we to do? Earlier in the summer we’d dreamed of tomato sandwiches, of winter shelves lined with rows of home-canned summer tomatoes, of freezers packed with homemade tomato sauce. But our hopes were dashed along with those of the pitiful green tomatoes who could not bring themselves to turn red.

I found a solution recently in this salsa, just in time for the green tomatoes that other gardeners with happier plants will soon be harvesting. It’s roughly based on a tomatillo recipe from Rick Bayless’s Salsa That Cook. While I’m not sure about the wisdom of substituting tomatillos for green tomatoes regularly, it worked quite well here. The salsa packs quite a bit of heat, but you can adjust that by using fewer peppers.

After one day, the brightness and the heat of the salsa had mellowed and the roasted flavor came to the forefront. If you want the salsa hot, I recommend serving it the same day; if you’d prefer a more mellow version, wait 24 hours before serving.

The salsa is wonderful with fish or shrimp as well–a serving suggestion is below. I can only hope the little green tomatoes have found their purpose in life now.

Green Tomato Salsa

Makes about 4 cups

A dozen small green or partially red tomatoes
6 serrano or other hot green peppers (more or less to taste)
1 large yellow onion, halved and sliced
Kosher salt
Sugar (about 1 tsp., or more to taste)
Cream, sour cream, or any kind of South American cream (Mexican, Honduran, Salvadoran) (optional)

Place oven rack about four inches below the broiler flame. (For me, this is the second slot from the top–do not place too close to the heat.) Set tomatoes on baking sheet. Roast with broiler on high about six minutes on one side, then turn and roast for an additional six minutes. The tomatoes will be dark brown to black. Set aside to cool, about 20 minutes.

While tomatoes are roasting, place a sturdy skillet on a medium high flame (no oil). Remove stems from the peppers. Place peppers in skillet and roast until blackened in spots, about 10 minutes.

Cut up onion while peppers are roasting and set aside. Once tomatoes are done, remove them to a bowl. Lower oven rack to the middle level. Set oven temperature to 425. (It should already be preheated from broiling the tomatoes.) Scatter the onions over the baking sheet (no need to wash it) and bake, stirring every few minutes, until translucent and blackened or dark brown in spots, 10 – 15 minutes. Let cool for a few minutes.

Place whole peppers and onions in food processor and pulse, scraping down sides of bowl regularly, until ingredients are minced. Add whole tomatoes (peels, cores, and all) and pulse until finely chopped. (Add water if it is too thick.) Add plenty of salt and sugar to taste. Serve immediately with chips for a very hot salsa or wait 24 hours for a more mellow version. Add cream if desired–it will mitigate the heat.

Shrimp Tortillas with Green Tomato Salsa

Serves 2 — a good way to use the extra salsa!

16 large shrimp, peeled and deveined
1 tsp. olive oil
2 – 3 cups Green Tomato Salsa, above
3 – 6 tbps. half and half
Grated mild cheese to taste (we used plain old cheddar, but Mexican queso seco might be better)
Spinach
6 small corn tortillas

Heat oven to 350. Place tortillas on baking sheet and set in oven to warm. (You will need to check on them frequently to make sure they don’t crisp up–once they are warm and soft, turn off oven and let them sit.) Heat olive oil on medium high heat for a few minutes. Add salsa and cream. Heat, stirring frequently, until mixture begins to bubble, about 5 minutes. (Add more cream if it looks like it might burn.) Add shrimp and cook just a few minutes, stirring frequently, until shrimp have just pinkened, adding more cream if necessary. Remove tortillas from oven. Spoon shrimp mix into tortillas, top with spinach and cheese, fold over, and serve.